Asking for Book Reviews
Welcome to Day five of the 30-Day challenge. Judy Baker, Book Marketing Mentor, your guide to getting more bang for your book.
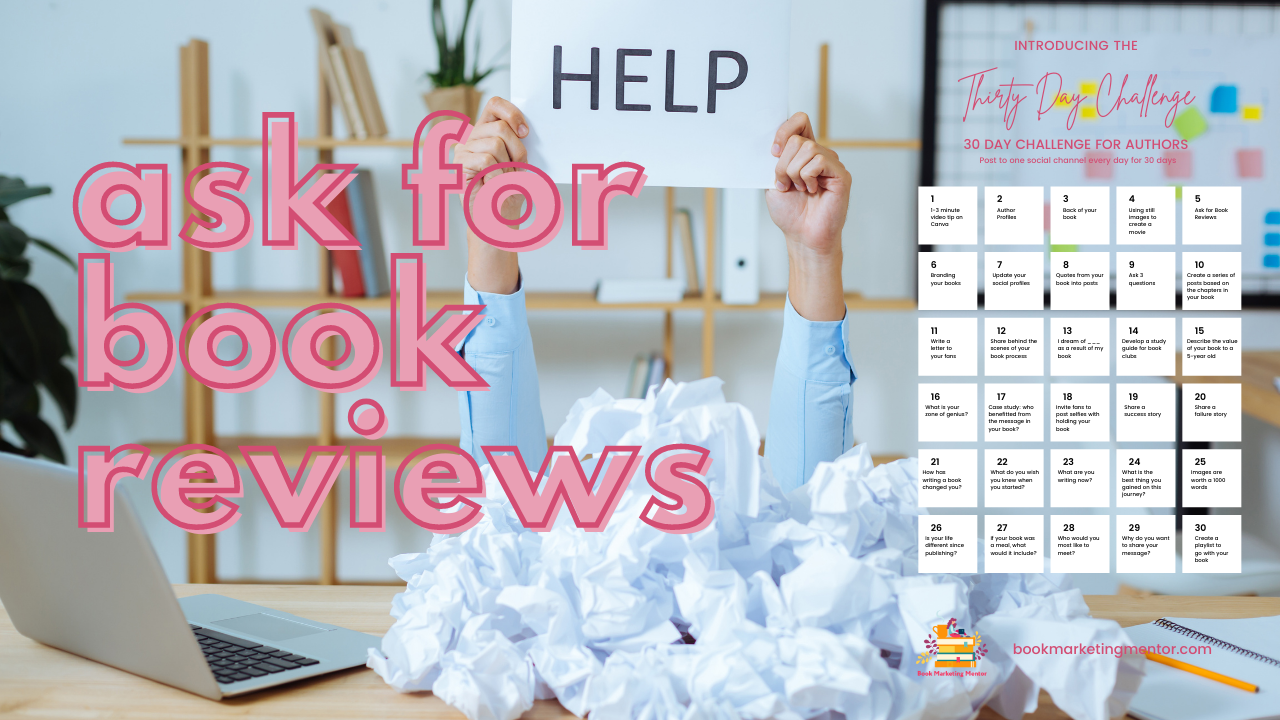
Today, I'm talking about asking for book
Continue Reading
Sell More Books with an Engaging Back Cover
Structure the back of your book to appeal to the needs of your readers. The story you display can engage and invite your audience to look inside or buy your book.
- Blurbs are third-party endorsements of your book
- What will this book do for me?
- Bullet lists provide a snapshot of your content without giving away all the details.
Judy Baker, Book Marketing Mentor, welcome. It is day three of the 30-day book marketing challenge. And I said, I would talk about book covers, especially the back cover of your book.
But before we do, let’s look at some of the most outstanding book covers of the year, compiled by Print Magazine. I was a subscriber to their print magazine for many years. The quality of the book covers selected is stellar. You can scroll through the designs. Some of the book covers are disruptive, original, enticing. I promise to spend more time on front covers another time. Consider a viewing of the best covers as a prelude to the discussion of back covers.
https://www.printmag.com/post/30-of-the-best-book-covers-of-the-year-so-far
The NY Book Editors have a comprehensive article about what to put on the back of your book cover. The most critical elements.
Your book cover is a way for you to connect with your audience and tell them what will surprise them when they get inside the book.
Jane Friedman, one of the most respected authorities in the publishing world, offers great insights about writing the content for your back cover.
250 Words
You just have a small amount of real estate. About 250 words will fit on your back cover. And so this is a perfect example of what you might put on your bullet points and how you can structure the language so that people want to know more.
Reedsy offers a book cover template showing some very particular things. And if you look here, the tagline for your book for testimonials, man, that would be the best way to have created a book cover because those testimonials mean other people are endorsing your book and are saying it’s worth the time and the money to read it.
If you only have one good testimonial, put it at the top, then tell some more information about what’s inside.
It’s about your readers
You can include a short bio and a small picture. Your book cover is not about you.
Scribe Media has some outstanding examples of covers.
Notice the placement of the ISBN is going to be consistent with most book covers. The Reedsy blog post about what goes on the back covers includes your tagline, a blurb. And a brief description of your book, your author, bio, and maybe your photo.
And remember, you only have a short amount of time to get people’s attention.
Masterclass offers an entire course on writing your back cover.
Your back cover is an advertisement for what’s inside and Kindlepreneur talks about the content of your back cover. Craft a synopsis, add a blurb, excerpt from book reviews, a book description, and why someone should take the time to read your book.
BookBaby says if you get just one fabulous endorsement, feature it. You can update your cover when you have new or more impressive endorsements after your initial launch.

Contrast, Color, Concept for the Back of Your Book
Contrast in color between the background and foreground makes covers easy to read. Watch out for fonts that are too small, decorative, or otherwise low on the readability scale.
I pulled a few books from my bookshelf.

Own Your Own Niche by Stephanie Chandler her back cover is easy to read, easy to see what’s here. And she used bullet list of what is inside the book.

Now my good friend, The Grammar Diva, Arlene Miller, is prolific. One of her books is 50 Shades of Grammar. It is fun and educational.
Canva Book Cover Ideas

Canva offers a fast way to prototype a cover. Their blog post about cover ideas provides a checklist and visual guide to creating a stellar back cover.
As you craft your back cover, remember these tips:
- Your back cover tells a story, describes what is important to your readers
- You have a small amount of space to get the attention of your audience
- Think of your cover as an appetizer enticing you to keep reading
- Make type readable, use contrasting colors and fonts
- Include testimonials and blurbs if you have them
- Bullet lists are easy to read
- Keep your bio brief
- Include white space
Tomorrow I will share how to make videos from still images. The 30-Day Challenge will help you develop a workflow for posting.
Judy Baker, Book Marketing Mentor
Get your 30 prompts for book marketing posts at https://bit.ly/30Prompts
Resources
https://www.printmag.com/post/30-of-the-best-book-covers-of-the-year-so-far
https://hbr.org/2019/05/how-to-make-sure-your-book-gets-read
https://www.canva.com/learn/book-cover-ideas/
https://writingcooperative.com/5-key-aspects-of-marketing-that-drive-book-sales-1d31ca93f2c
https://www.masterclass.com/articles/how-to-write-a-back-cover-blurb-that-sells
https://blog.reedsy.com/back-of-book-cover/
https://nybookeditors.com/2017/11/designing-your-books-back-cover/
YouTube episode https://youtu.be/3g-e6mEtkh8
What’s on your back cover?
Use the space on your back cover to help you reach more readers and sell more books. I would love to see examples of your book covers. Share a link to your book in the comments.
Turn your photos and slides into movies
Resources for Turning Your Content into Movies

Create video from still images fast
You can convert existing content from one format into another in a few minutes. If you have photos or slides, come along on this amazing journey to create movies.
Today’s video is about 7-minutes and covers the why and how of using your existing files as the bases for a movie.
- Mac photos to slideshow to exported m4v file in seconds
- Slides from Keynote, PowerPoint, Google Slides, and Canva in minutes
- Play slides and record voiceover narration
- Export your files as mp4s
- Save, export, upload your finished video to the social channel(s) of you choice
- Embed your videos on your website
- Share videos with your fans
- Include video files on your Author Profiles
Powerpoint Slides to Video
PowerPoint is probably the best known for its slide making software. I have friends who operate PowerPoint to map out workflows, create video thumbnails, and other off-label uses.
An easy way to convert your PowerPoint presentations lives in the Slideshow portion of the app.
- Play a slideshow,
- Record voice-over narration
- Export your narrated slideshow as a mp4 file
- Save the movie file
- Upload to the video repository of your choice
- Share the video
Microsoft has more information for you to peruse on how to save your presentation as a video.
Keynote to video
I work in the Mac universe and Keynote is Apple’s answer to PowerPoint. Each has their pros and cons. You can take your Keynote slides and turn them into a movie. Learn more at Apple.
Make a Photo Slideshow on a Mac
It blew me away how quick I could take photos from my library and create a movie. Read more at the links shown below.
https://mackeeper.com/blog/how-to-make-a-slideshow-on-mac/
Canva
I made the video I share with you today using Canva. I started with a presentation template, customized the content, colors, fonts and added my branding.
After I was happy with the slide deck, I selected the option: present and record.
I shared my presentation, recorded narration and exported the file as a mp4.
I downloaded the mp4 from Canva to my computer before I added it to my YouTube channel.
If you want to create video from Canva for Instagram, read this post on their blog.
More Software to Explore
After you make your movie, where are you going to post and store it? YouTube and Vimeo are the most well-known options.
Vimeo
Vimeo is the other major video sharing site. You can post to Vimeo or YouTube. It well known both offer sound choices for video delivery. Vimeo is a paid service, you can try it out for free. Decide which service you prefer for storing and delivering your videos.
If you are into TikTok, see what Vimeo offers you.
More Tools for Video Creation
Adobe Spark
I work in Adobeland nearly every day. Adobe has tools for OS and desktops. Adobe Spark and Adobe Express help you create videos.
https://www.adobe.com/express/feature/video/images-to-video
https://www.adobe.com/express/create/video/photo
One of the articles you may want to read is from Social Media Today: 4 Ways to Create Engaging Video Content from Still Images
https://www.socialmediatoday.com/marketing/4-ways-create-engaging-video-content-still-images
Animoto
One of the grandaddies of turning images into movies, Animoto is still around. I used Animoto to make movies back in the early days of web design.
https://animoto.com/features/photo-video-maker
https://jumpermedia.co/best-instagram-video-editing-apps/
Lumen5
Convert your posts to videos using Lumen5. It uses artificial intelligence to generate videos and is a great way to repurpose content.
And read how to create for Instagram.
Loom
To record video, Loom is a good option. You can start off with a free account and record up to 5-minute videos. Not strictly what we are talking about today, yet good to know and use. I like the quality of Loom videos. You can record your full screen, a window or selection, and decide if you want to record the desktop only, desktop/window plus from a camera, or camera only.
Get high quality results fast, with Loom. You can include a call to action button on your video if you share from Loom.
Free to get started with a variety of paid plans which give you white-label use of the software and extend your recording time.
Pick one and try it
If you have been reluctant to try creating movies, now you have some new options. You can decide to appear on camera, share your face, share your voice, share your book.
I would love to see what you create.
Turn your media into movies and post a link about your experience at https://facebook.com/bookmarketingmentor
Tomorrow, I will give tips on asking for book reviews.
30-Day Challenge Author Profiles
Welcome, Day Two of the 30-day Challenge for Authors.
I’m Judy Baker, book marketing mentor. We’re looking at my calendar here in Canva.
And today I am going to be talking about author profiles. So let’s go over to Amazon. What you want to do first is to claim your Amazon Author Central profile.
And you do that by going to Author Central and then marketing and distribution, you’ll be going to KTP and to your marketing page.
So let’s just zip over there and on your, on your page, you can see here’s author central, and it’s going to ask you to choose what market most of you, I believe will choose the amazon.com because you’re in the United States.
But if you were in another country, you would select the one that’s appropriate for you. From there, you can now see my Amazon Author Central profile.
What’s on my Author Profile page?
This is my photograph, taken by Star Dewar, a photographer. She’s done my headshots for years and you can find her at https://starshotsphotography.com/
So you want to have a good recent photograph of you up here and over time, you’re probably going to need to update it. Be sure if someone met you, they would know that’s you. So that’s a tip for you on all of your social media profiles so people can follow you.
But this is something really juicy. Your biography. Look how much you can put in here. (up to 1000 characters). And the one thing that I want to emphasize a good headshot and include your website URL. I’ve got two companies,
https://bookmarketingmentor.com and https://bookmarketingsociety.com.
You might also want to include how to reach you on social media. And you could, you could put those links in there as well. And I think I’m going to be updating mine a bit later today.
Look at how beautiful this page is. You can include video, you can link to your blog and every time you post it’ll show up, you can add other photographs.
So these are, these are additional headshots of me, but you could put shots of you doing something, maybe an event that relates to your book.
And when you are doing an event, you want to post it on your page. Now, these books around anthologies.
This is what it looks like when you start your Author Central journey, and it’ll ask you a bunch of questions and you can learn about it.
And it’ll tell you what you need to know. And once you have your Author Central profile up there, you can look at all your books.
You can look at your sales ranking and customer reviews, pretty sweet, pretty easy to get to. And that’s author.amazon.com/home. It’s your Author Central location.
But back to how do you claim a book when you’re not the primary author?
I have a special video for you showing you how to add books as a contributor to a publication.
How to Add a Book to Your Amazon Author Central Page
This video will talk to you or we’ll take you step-by-step through the process. And it was pretty easy. And all the books got added within a few hours. Sometimes it can take longer depending on what’s going on at Amazon.
So this is day two of the 30 day challenge.
You can find me at facebook.com/bookmarketingmentor, and post a link to your social media post, unless you’re doing Facebook. And then of course you can just share it to this page and you can find me at bookmarketingmentor.com.
I help authors get more bang for their book.
Come back tomorrow for day three of the challenge, and I’ll be talking about how you can make the back of your book one of your best sales tools.
Judy Baker, bookmarketingmentor.com
Links to places mentioned in this video:
Star Shots Photography
https://starshotsphotography.com/
How to Add a Book to Your Amazon Author Central Page
Author Central
KDP Marketing Resources
https://kdp.amazon.com/marketing/manager
Amazon Author Central
https://author.amazon.com/home
Author Page
https://author.amazon.com/help/G4C8HLZYK4ZHKNR2
My Author Central Profile
https://www.amazon.com/author/judy-m-baker
Where to find Book Marketing Mentor
https://www.youtube.com/channel/UCih0o87hETXblMiVty6uIzw
https://www.facebook.com/bookmarketingmentor
https://bookmarketingmentor.com
Day One of the 30-Day Posting Challenge for Authors
Using Canva to Create Graphics
Stop procrastinating. Learn how you can create eye-catching graphics for your posts using Canva. Four minute video where I walk you through modifying a graphic and using your brand colors and style.
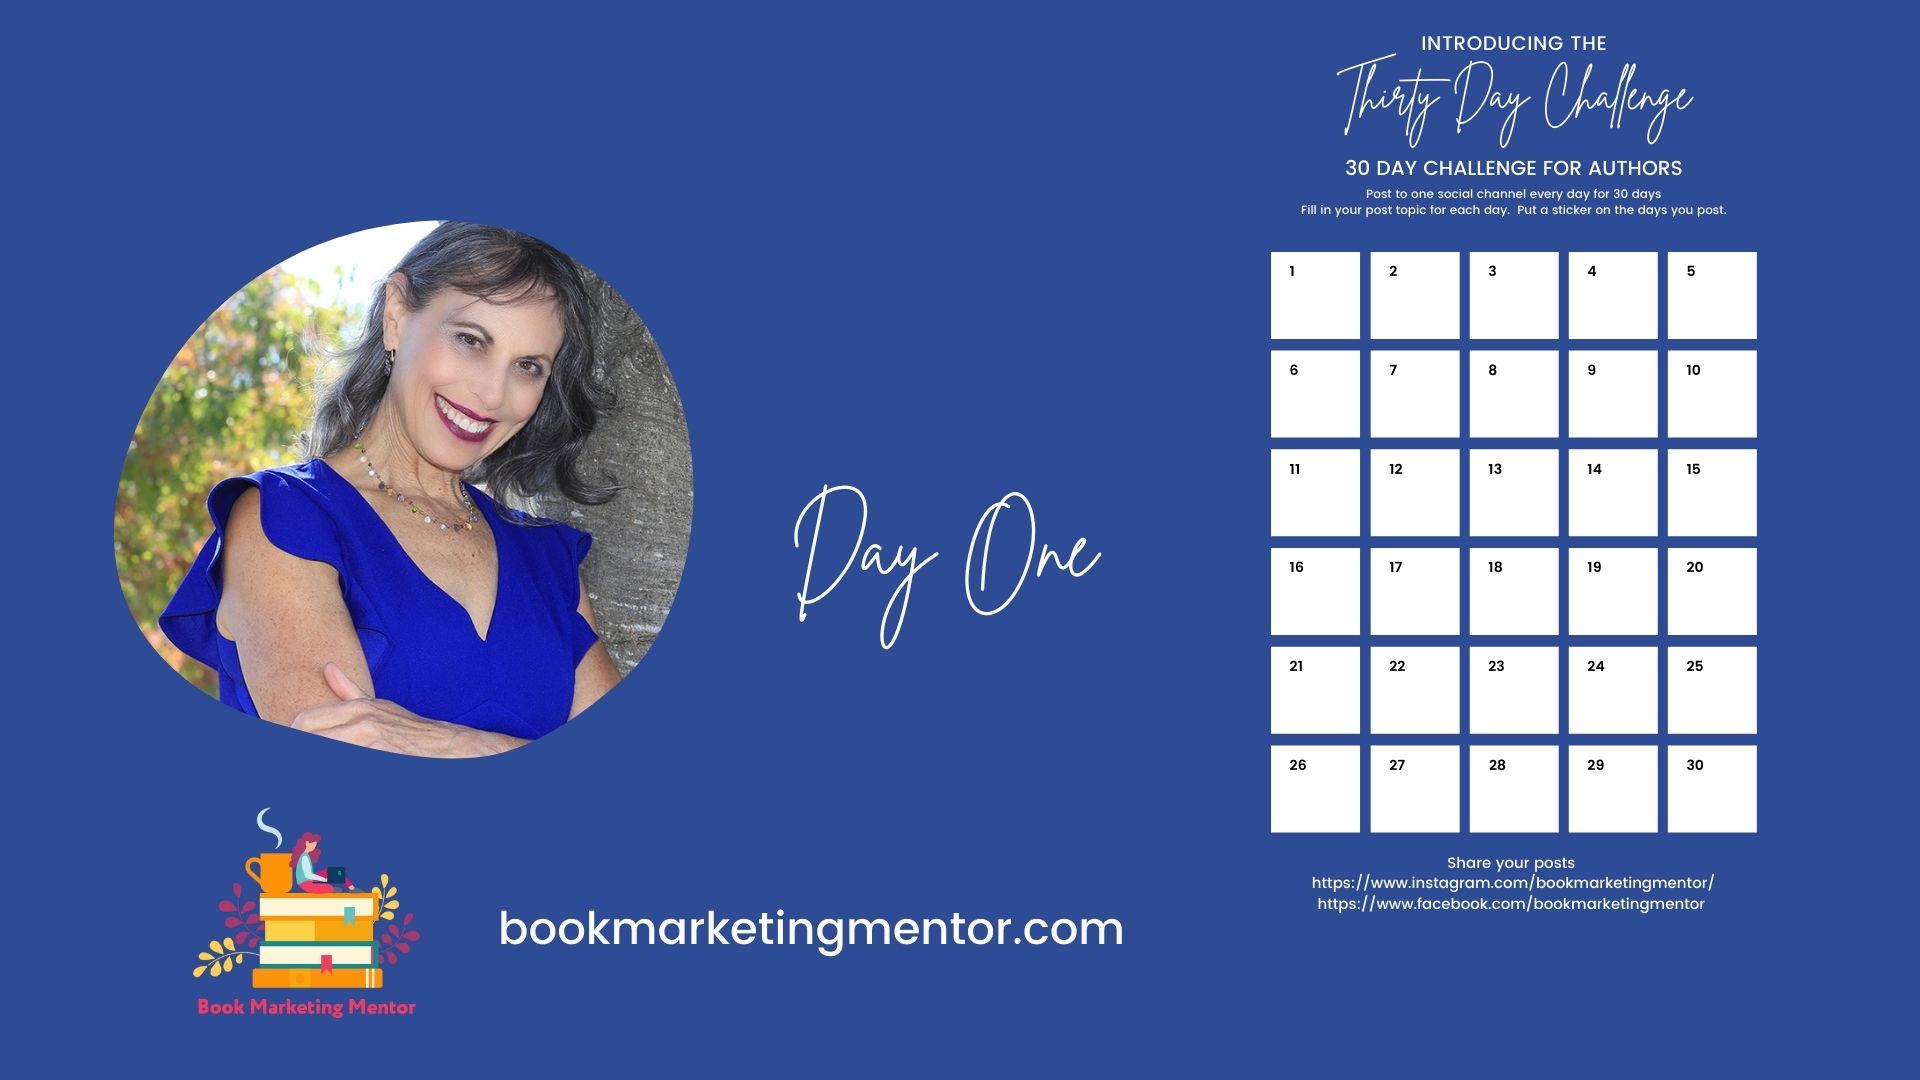
You can download a pdf of a blank calendar or access the template in Canva.
Judy Baker Book Marketing Mentor
Welcome to day one of the 30 day posting challenge. Every day in September, you are going to post to one social channel.
And I wanted to start by showing you how you can create graphics in Canva, just by modifying something that exists, or you can start from scratch. You don’t have to be a designer.
And here is the design I selected and modified.
The original is kind of beige, which is not my style. I’m a bit more poppy on my colors. I changed the colors around, changed the content a little, and I’m going to do that even more because I’m going to create a PDF so that you can print it out and fill in what you’re going to do. (I discovered I can share a template with you and you can begin your calendar with the template and make the changes you want right in Canva!
And you can put stars or stickers on the days that you complete your posting. You can add a page title. This is a 30 day challenge. I want to make a copy of the design. I’m going to duplicate the page. I did some work ahead and will share it with you.
I went in and started filling in what I’m going to do. So you can see each day I put in what I’m going to do.
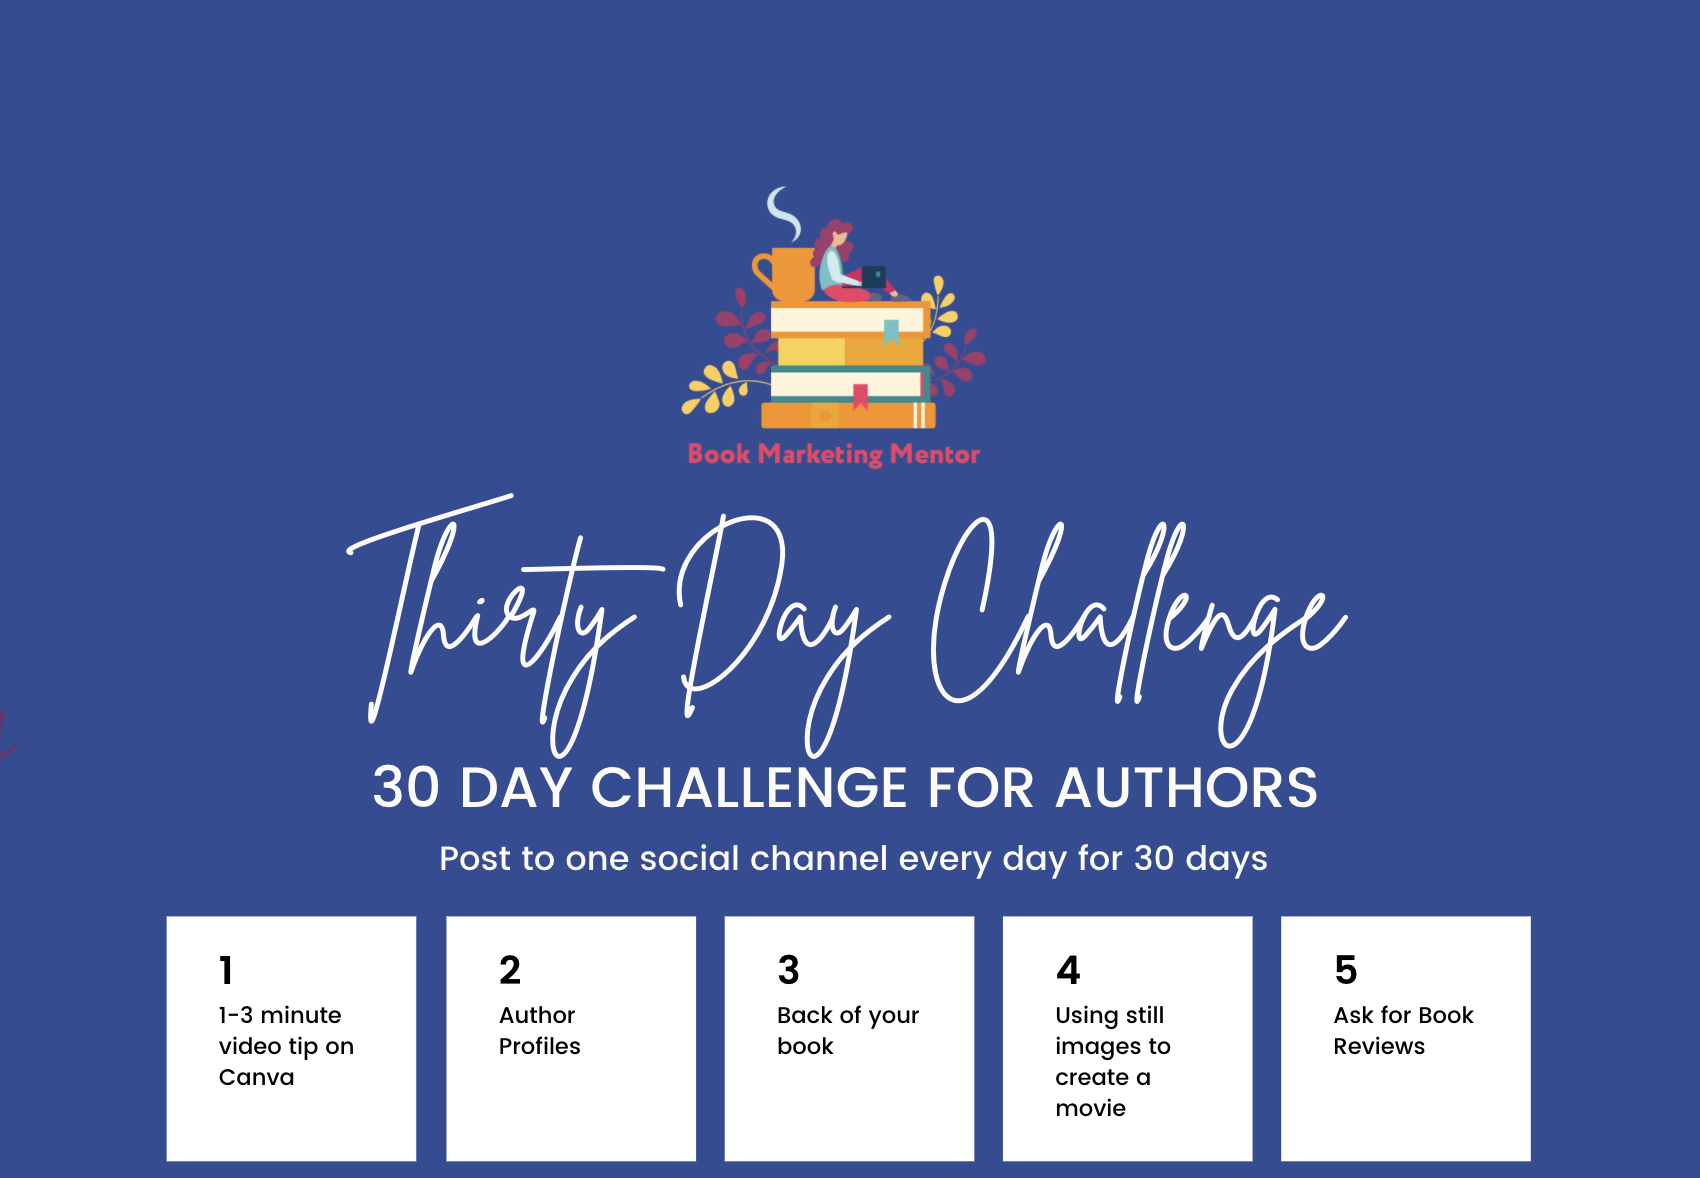
Today that I’m doing a video tip on Canva. Tomorrow I’m going to do something on author profiles on the third, it’ll be back of the book. And on the fourth, I’m going to show you how to use still images to create a video .
You’ll have blanks you can fill in if you print this out or go to Canva and use the template calendar.
All I wanted to do was come in here and make a change. And so on the sixth, I’m going to talk about branding.
Did you notice how simple it is to make changes? I can go in and change existing text by typing over it.
If I wanted to change the font, I can do that too, but I don’t want to do that right now.
I’m fine with, with what’s in there.
Join the 30-Day Challenge
So I want you to join me on this challenge. You’re going to post to one social channel every day for 30 days.
You’ll find what I’m doing on Instagram. I’m @bookmarketingmentor, and I’ll be posting here and on Facebook, @bookmarketingmentor,
The links where you can find me
Judy Baker Book Marketing Mentor
Welcome to day one of the 30 day posting challenge. Every day in September, you are going to post to one social channel.
And I wanted to start by showing you how you can create graphics in Canva, just by modifying something that exists, or you can start from scratch. You don’t have to be a designer.
And here is the design I selected and modified.
The original is kind of beige, which is not my style. I’m a bit more poppy on my colors. I changed the colors around, changed the content a little, and I’m going to do that even more because I’m going to create a PDF so that you can print it out and fill in what you’re going to do. (I discovered I can share a template with you and you can begin your calendar with the template and make the changes you want right in Canva!
And you can put stars or stickers on the days that you complete your posting. You can add a page title. This is a 30 day challenge. I want to make a copy of the design. I’m going to duplicate the page. I did some work ahead and will share it with you.
I went in and started filling in what I’m going to do. So you can see each day I put in what I’m going to do.
Today that I’m doing a video tip on Canva. Tomorrow I’m going to do something on author profiles on the third, it’ll be back of the book. And on the fourth, I’m going to show you how to use still images to create a video .
You’ll have blanks you can fill in if you print this out or go to Canva and use the template calendar.
All I wanted to do was come in here and make a change. And so on the sixth, I’m going to talk about branding.
Did you notice how simple it is to make changes? I can go in and change existing text by typing over it.
If I wanted to change the font, I can do that too, but I don’t want to do that right now.
I’m fine with, with what’s in there.
So I want you to join me on this challenge. You’re going to post to one social channel every day for 30 days.
You’ll find what I’m doing on Instagram. I’m @bookmarketingmentor, and I’ll be posting here and on Facebook, @bookmarketingmentor,
The links where you can find and follow me
https://www.instagram.com/bookmarketingmentor/ and https://www.facebook.com/bookmarketingmentor
I will post links to the videos that I’m creating every day.
Judy Baker, Book Marketing Mentor. I help authors get more bang for their book. Find me at https://bookmarketingmentor.com
and https://www.facebook.com/bookmarketingmentor
I will post links to the videos that I’m creating every day.
Judy Baker, Book Marketing Mentor. I help authors get more bang for their book. Find me at https://bookmarketingmentor.com
Get Ready for Resilience!
It is easy to get lost in preparation, overthinking, worry about being perfect. It is time to embrace doing something without knowing everything, learning by failing, learning by experience.
I have been guilty of procrastination. Thinking I need to learn more before I begin a project is one of my favorite forms of procrastinating. And you know the truth? Even if I stumble, I learn best by figuring things out. Being a true master comes from failure, or understanding what didn’t go as planned.
When I think of the hours of video recorded, without offering the clips for viewing, it makes me cringe. This is a common problem with those of us who are creative. We expect a masterpiece each time. That is a recipe for despair.
While working on a project for a client, I had to work with a new to me website. The vendor provided video tutorial instructions. The tutorials were opaque, with complex steps. After watching the tutorials, stopping, rewinding, watching again, I nearly gave up. And then I took a deep breath. I watched one more time, and the clouds of understanding parted.
I persisted

I got the job done

I learned something useful.

Resilience Can Be Learned
Try on something different. When you embrace an attitude of strength, determination, and compassion for yourself, everything changes. Look for inspiration, not defeat. When ovarian cancer showed up on my dance card, I asked “how do I get well?” and learned about mindset, nutrition, exercise, and genetics. Unexpected gifts from a crappy situation changed my approach to life. Hard lessons for someone who lived in my head and a lifetime of ignoring my body, unless I was comparing myself to Photoshop perfect images.
One of the biggest lessons about resilience when faced with circumstances beyond my control is the power of creativity. I gathered books, podcasts, movies, and people who were nurturing and supportive. You might look at who you hang out with and if they are helpful or harmful to your wellbeing. I put some folks on pause while I was in healing mode.
Learning how to be kind to myself continues as a practice. Somehow, I found the Happier podcast with Gretchen Rubin. Dan Harris got me hooked on meditation with his Ten Percent Happier podcast and app. Just look around for your favorite dose of happy.
Here are a couple of quotes from other humans who have faced adversity and triumphed.
“Do not judge me by my success, judge me by how many times I fell down and got back up again.”
― Nelson Mandela
If you want more musings on resilience, you can find them on the driven website.
Believing in yourself makes it easier to learn and overcome bumps in the road. Resilience comes with practice, humility, and a a hearty sense of humor.
Next time you face a challenge, remember a time when you accomplished something you thought impossible. In fact, keep a journal of your accomplishments and refer to it as needed.
You are stronger than you know. And you are not alone.
